假期时候花了点时间将博客迁移到了 Hexo,下面记录一些部署流程。
安装
安装 node:
1 | $ brew install node |
安装 Hexo:
1 | $ npm install hexo-cli -g |
新建博客项目:
1 | $ hexo init <folder> |
之后这个文件夹可以通过 Git 进行管理并托管 GitHub。
配置
配置文件
配置 _config.yml 文件:
1 | url: https://qiweipeng.github.io |
要保证 GitHub 已经配置了 SSH,之后命令行进行部署就很方便。
安装主题
安装 next 主题:
1 | $ cd <folder> |
之后修改 _config.yml 文件更换主题
1 | theme: next |
CNAME
markdown 文件放在 source/_posts 文件夹下,如果绑定域名,CNAME 文件放在 source 文件夹下。
发布流程
1 | $ hexo new "My New Post" // 创建新的 markdown 文件 |
图床
因为域名备案的原因,不想再用七牛云的图床了,打算直接在 GitHub 上建一个仓库作为图床。
创建 qiweipeng/images 仓库。设置中打开 GitHub Pages,Custom domain 设置为 image.qiweipeng.com,打开 HTTPS。同时 GoDaddy 设置 CNAME,值 image 指向 qiweipeng.github.io。
之后安装 PicGo 进行图片的上传。打开[上传前重命名]和[时间戳重命名]。设置 GitHub 图床:
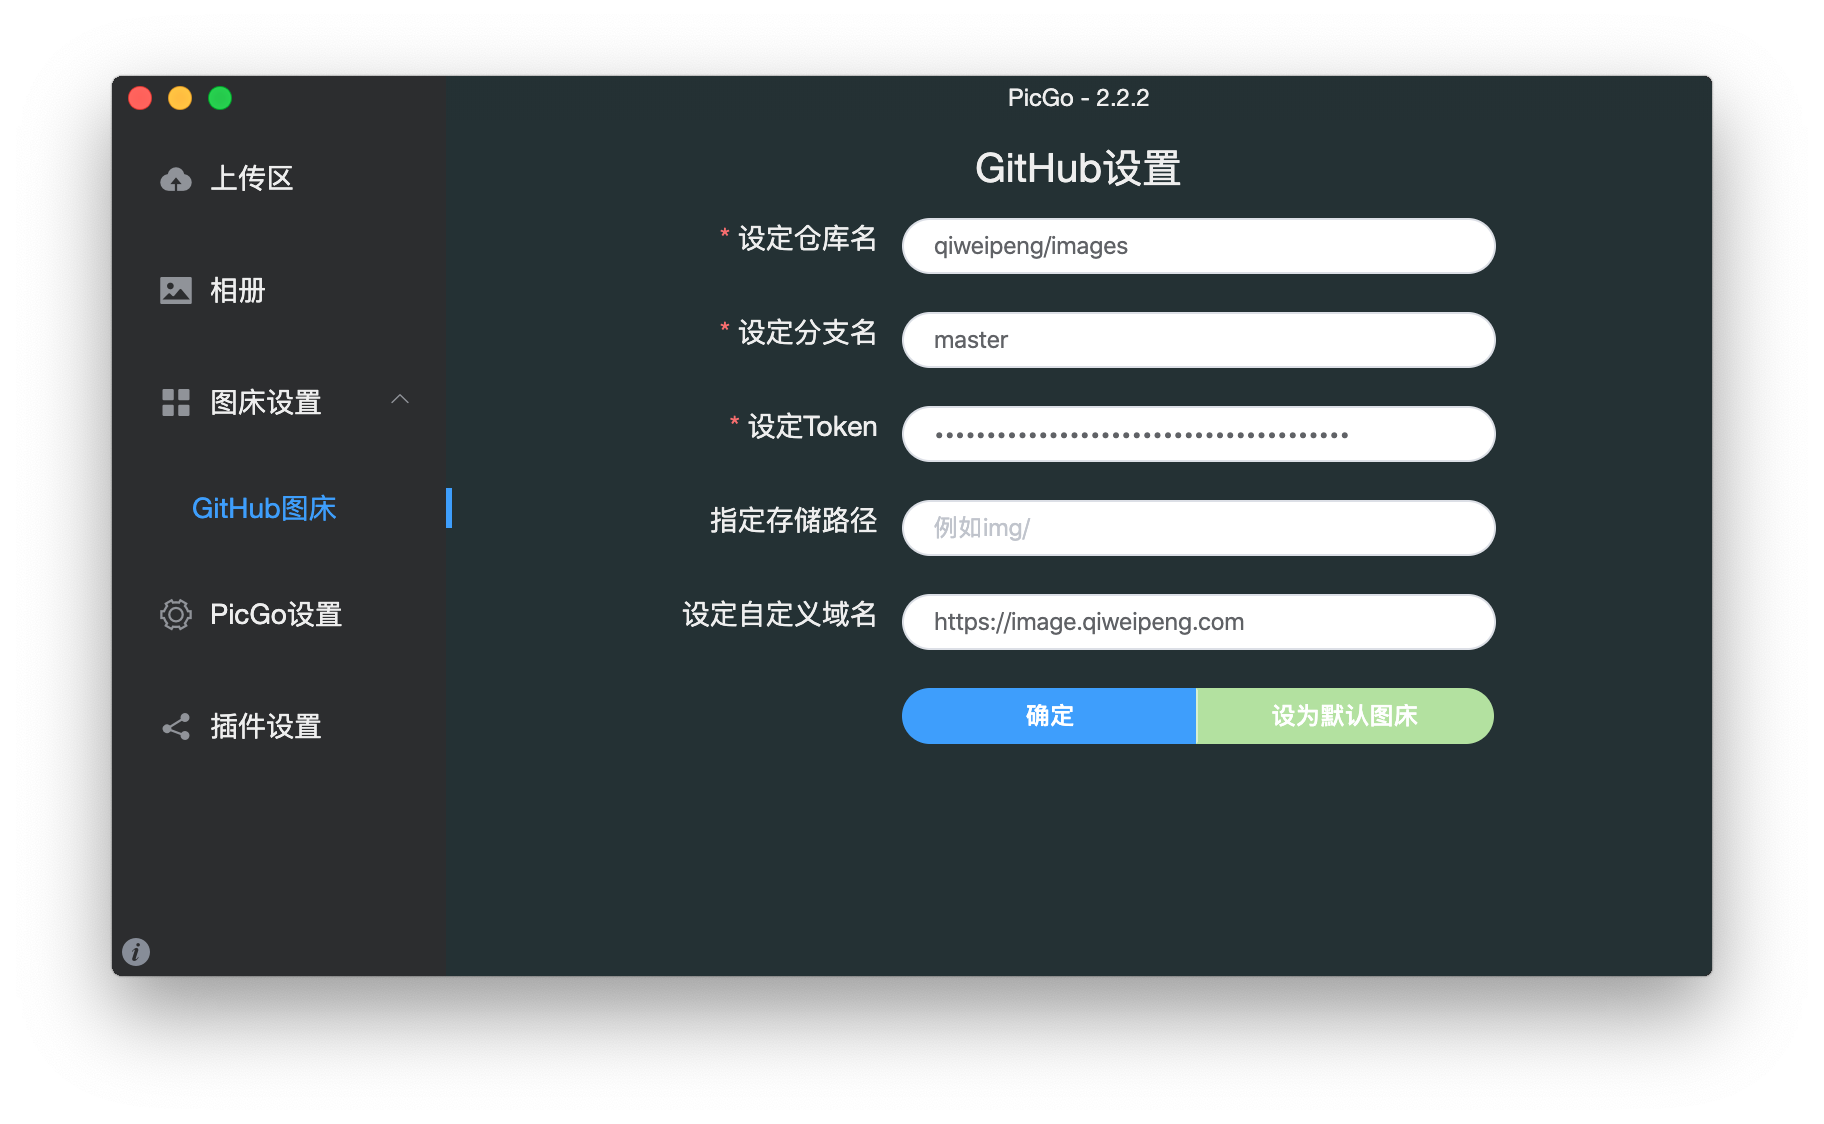
图 - 4: PicGo 中 GitHub 图床设置
其中需要配置 Personal access tokens,命名如 Weipeng's MacBook Pro - PicGo,打开的权限:
- repo